
How to Make Homemade Baby Food: Easy Steps, Safe Prep, and Simple Recipes [2025]
More parents are turning to homemade baby food in 2025 as they look for fresh, nutritious ways to feed their little ones. Making baby food at home doesn’t just save money; it gets you closer to the ingredients and helps you offer meals tailored to your baby’s needs and tastes.
With store shelves full of pouches and jars, families are still reaching for simple, real-food options in their kitchens. Homemade baby food gives you control over every bite, letting you decide what goes in the bowl while avoiding added sugars, salt, and fillers. It’s also a practical way to match foods to your baby’s stage—smooth and mild for beginners, chunkier with more variety as their tastes grow.
From first purees to finger foods, homemade meals can support your baby’s health and taste for fresh flavors. This guide will take you through the easy steps to safe prep, storage tips, and simple recipes that fit right into busy routines.
When and How to Start Solid Foods for Your Baby
Starting solids is a major step in your baby’s first year, marking a shift from milk-only feedings to new textures and flavors. Most babies are ready for this change somewhere between 4 and 6 months, but every child is different. Knowing when to start, what foods to pick, and how to serve them sets the stage for healthy eating habits and makes mealtimes easier for everyone.
Recognizing Readiness for Solids
 Photo by Marcin PORĘBSKI
Many parents wonder if their baby is truly ready to try that first bite of solid food. It’s more than just age. Look for these key signs before putting food on your baby’s spoon:
- Sits up well with little or no support: Good trunk control helps with safe swallowing.
- Steady head and neck: Your baby needs strong head control to move and swallow food safely.
- Shows interest in what you’re eating: Watch for your baby reaching for your food or opening their mouth when you offer a spoon.
- Loses the tongue-thrust reflex: Your baby should be able to move food from the front of the mouth to the back without pushing it out.
- Can close their lips around a spoon and swallow: Signs like swallowing instead of drooling or spitting out purees are good indicators.
Waiting until you see several of these behaviors—usually near 6 months—makes the transition easier for both you and your baby.
Choosing Ideal First Foods
Once your baby is showing signs of readiness, you’re ready for the fun part: picking their first foods. At this stage, keep it simple. Start with single-ingredient foods that are smooth and easy to digest. Most experts agree these are excellent choices to begin with:
- Iron-fortified baby cereals: Oatmeal or multigrain (less arsenic risk than rice cereal).
- Pureed meats: Chicken, turkey, or beef—iron is key for babies around 6 months.
- Cooked and mashed legumes: Lentils and beans offer protein and fiber.
- Avocado: Creamy, packed with healthy fats and B vitamins.
- Banana: Naturally sweet, soft, and easy to mash.
Start with one food at a time and wait 3 to 5 days before trying a new ingredient. This gap helps you spot any allergies or sensitivities. Keep the food plain—save seasoning and mix-ins for later months.
Introducing Common Allergens Safely
Introducing allergens is easier (and safer) than it sounds. Waiting past 6 months may actually raise allergy risk. New research supports offering common allergens early—ideally when your baby is eating other solids comfortably.
Some top allergenic foods to introduce early (one at a time):
- Eggs (well-cooked)
- Peanuts (finely ground, thinned with water or fruit/veg puree)
- Dairy (plain yogurt, cheese—not cow’s milk as a drink before 12 months)
- Wheat (small, soft pieces of bread or cereal)
- Soy, fish, and sesame
Tips for safe allergen introduction:
- Start at home, not daycare, with a small amount.
- Wait three days between each new allergen.
- Watch for any signs of reaction: rash, swelling, vomiting, trouble breathing—seek care immediately if these occur.
- Talk to your pediatrician first if your child has severe eczema, existing allergies, or a family history of food allergies.
Most babies handle new foods just fine. Early tasting not only opens doors for variety but may help prevent allergies later on. Introducing new foods is a journey—go slow, pay attention, and enjoy the (messy) milestones.
Essential Tools and Safe Preparation Techniques
Setting yourself up for homemade baby food is less complicated than it sounds. With the right tools, fresh ingredients, and smart habits, you’ll breeze through prep—and know your baby’s meals are both tasty and safe. This guide breaks down what kitchen gear actually helps, how to pick and prep ingredients, and the key hygiene steps every parent needs to keep food fresh and worry-free.
Must-Have Equipment for Homemade Baby Food
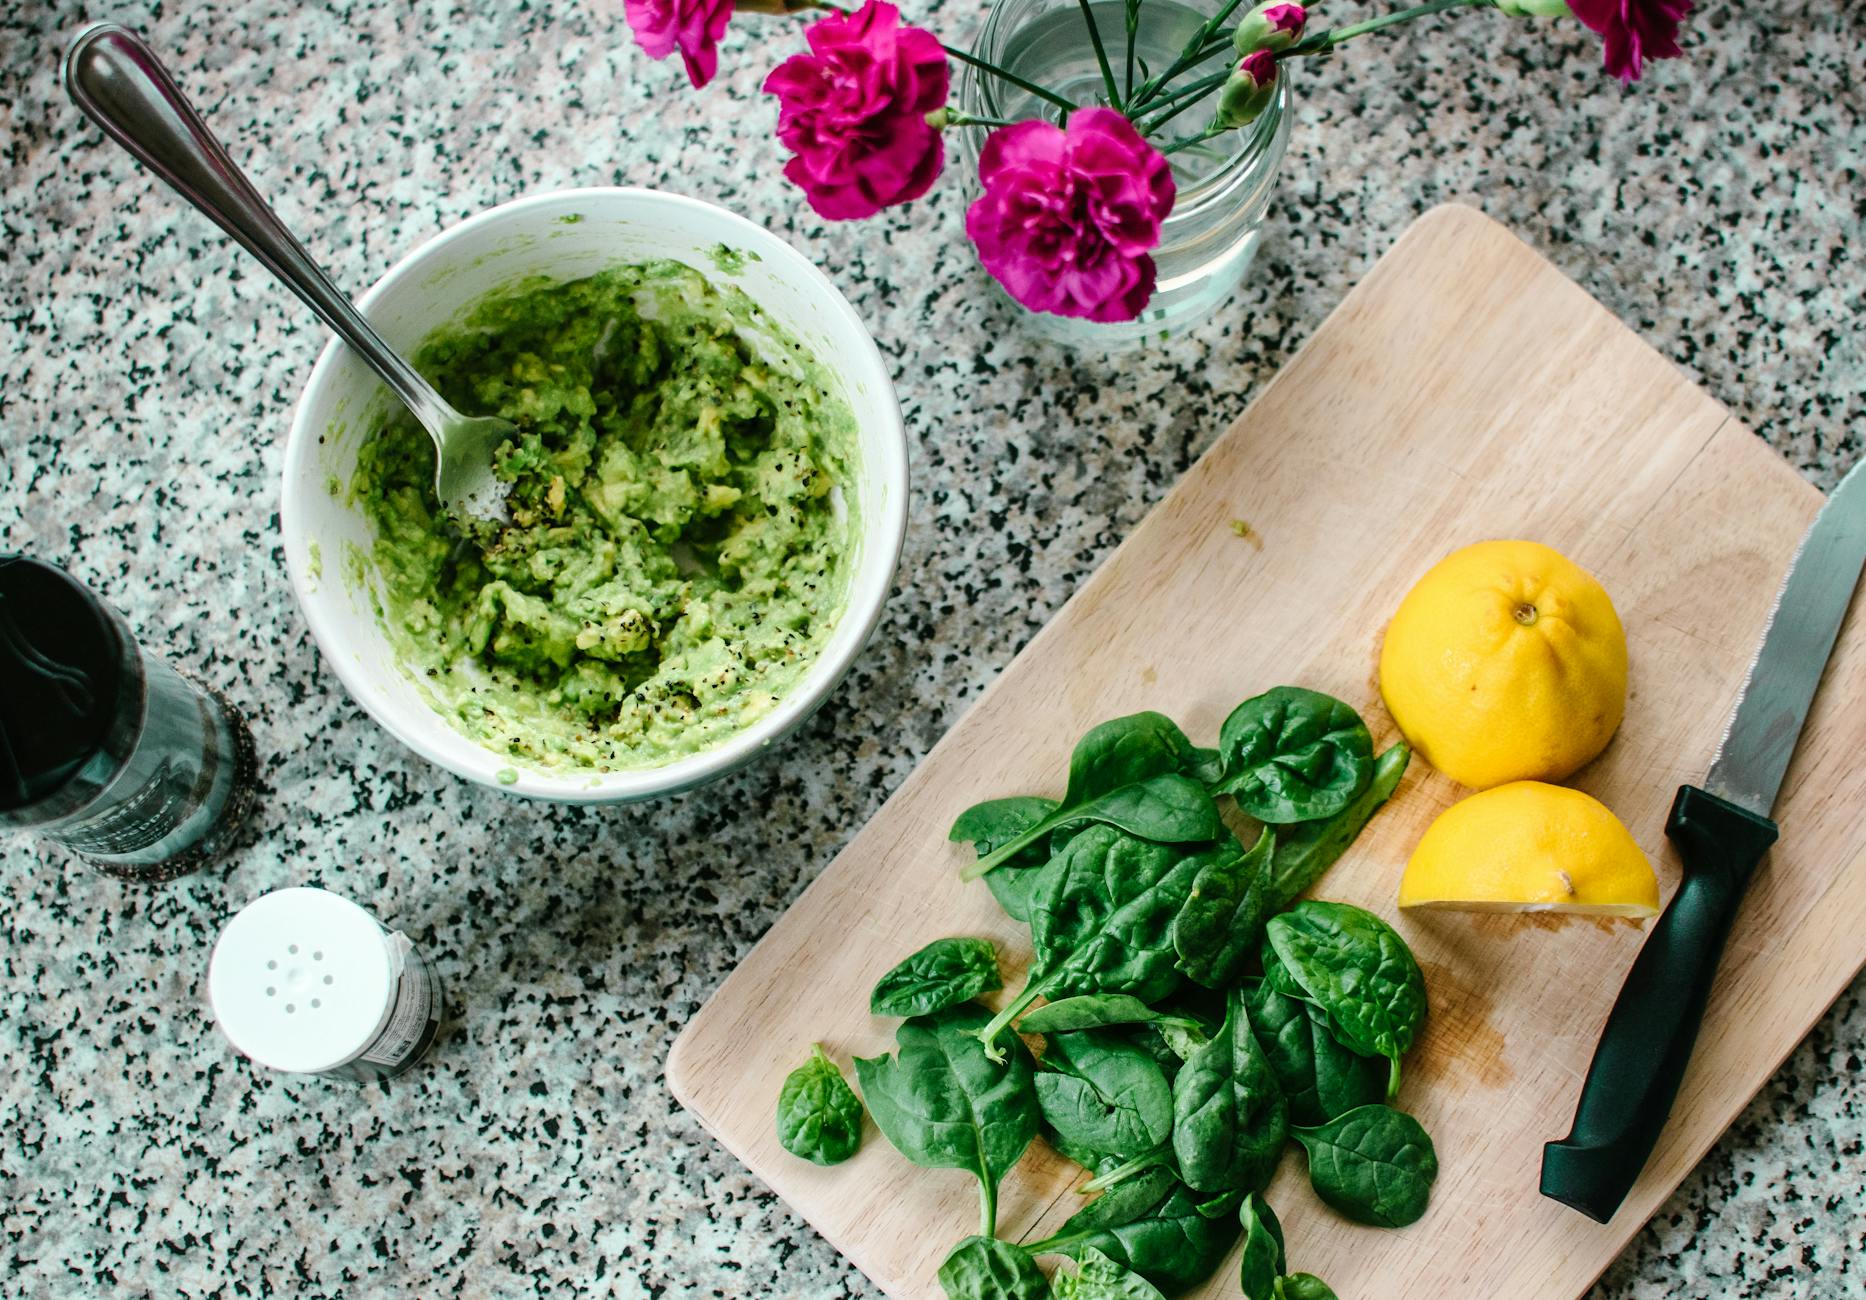 Photo by Lisa from Pexels
You don’t need a cluttered countertop or fancy gadgets before you start. A small set of essentials will handle just about every recipe:
- Steamer basket or insert: Delicate steaming keeps nutrients in veggies, making them soft for purees.
- Blender or food processor: Even a basic model can transform cooked veggies, fruits, or meats into silky, lump-free purees.
- Sharp knives and veggie peelers: A good knife set speeds up chopping and peeling.
- Silicone freezer trays with lids: Portion out purees, freeze, and pop out just what you need for each meal.
- Freezer-safe storage containers (BPA-free): Store single servings in airtight, leak-proof jars or containers.
- Reusable pouches: Helpful for taking homemade meals on-the-go.
- Cooking thermometer: Check that meats and fish reach safe internal temps.
- Spatulas and mini funnels: For scraping the last bit of puree or filling small containers neatly.
Parents also find high chairs (with washable covers), soft-tipped spoons, bibs with catch pockets, and cleaning supplies make everything easier during and after mealtime.
Selecting and Preparing Fresh Ingredients
The flavor, safety, and nutrition of homemade baby food starts with your shopping. Here’s what to look for and how to get the best from every ingredient:
- Choose peak-fresh produce. Pick ripe, bright fruits and veggies without bruises or mushy spots. Organic options are smart for high-pesticide items: apples, strawberries, spinach, and potatoes.
- Read labels on frozen and canned foods. If you use frozen produce or beans, choose options without extra salt, syrup, or preservatives.
- Pick lean, fresh meats. Boneless, skinless poultry and well-trimmed beef or pork are easiest for pureeing. Look for fresh fish, and avoid raw or undercooked options.
- Buy small batches. You’ll waste less and keep everything tasting fresh.
Before cooking, rinse all produce—even organic—under running water and scrub firm veggies with a brush. Peel skins where needed, chop into even sizes for steaming or roasting, and remove any seeds, pits, or bones. For grains like oats or rice, rinse thoroughly to remove dust and reduce arsenic levels.
To hold onto nutrients, steam or roast fruits and veggies until tender—boiling can drain away vitamins. Blend with a splash of breast milk, formula, or cooled cooking water to reach the right consistency for your baby’s stage.
Food Safety and Hygiene Best Practices
Safe food is happy food, especially for infants. Stick to these steps to cut out risks and boost your peace of mind:
- Wash your hands for at least 20 seconds with soap and warm water before and after preparing food.
- Sanitize utensils and surfaces. Clean knives, cutting boards, and counters thoroughly before you start, and again as you switch from raw meat to veggies.
- Avoid cross-contamination. Keep one cutting board just for meats, another for produce. Never use the same utensils for both without washing.
- Cook foods to the right temperature. Use a thermometer—poultry to 165°F, ground meats to 160°F, and fish to 145°F.
- Remove bones, seeds, pits, and gristle before pureeing to prevent choking.
- Store safely. Chill homemade baby food in shallow containers in the fridge and use within 1-2 days. For long-term storage, freeze purees and label each batch with the date.
- Never refreeze thawed food or keep leftovers that touched your baby’s mouth or hands.
- Watch for spoilage. Toss anything with sour smells, mold, or slimy texture.
- Avoid risky foods. Skip honey, unpasteurized dairy, and anything raw or undercooked—they can carry bacteria dangerous to babies.
These steps fit right into your regular kitchen routine and help homemade purees stay as safe as they are nutritious. Consistency with the basics builds strong food prep habits for your baby—and all your family’s meals.
Cooking Methods and Texture Progression
Choosing how you cook and serve baby food plays a big part in how much nutrition your baby gets, and how well they adjust to new feeding skills. Simple cooking methods and step-by-step texture changes keep meals safe, delicious, and right for every stage.
Steaming, Baking, and Microwaving Techniques: Nutrient Preservation and How-To
The way you cook fruits, veggies, and even proteins can make or break how much goodness ends up in your baby’s bowl. Some methods hold onto more vitamins and minerals. Here’s a closer look at why they work so well and how to use them, step by step.
Why Steaming and Microwaving Work Best:
- Steaming and microwaving use little or no extra water and cook food gently, locking in nutrients that boiling can wash away.
- Baking is next best, adding rich flavors without much nutrient loss.
- Boiling is easy but leads to vitamin loss, especially for C and B vitamins.
Steaming Method—Best for Veggies and Fruits:
- Wash, peel, and chop produce into even pieces.
- Place pieces in a steamer basket over simmering water. Cover with a lid.
- Steam until soft (10-15 minutes for most veggies like carrots or sweet potato).
- Cool slightly, then puree or mash.
Baking for Comforting Flavors:
- Set oven to 400°F (205°C).
- Place whole or sliced fruits or veggies (like apples, squash, or potato) on a baking sheet.
- Bake for 30-40 minutes until very soft.
- Scoop out flesh, discard skin, then mash or puree.
Microwaving—Quick and Great for Small Batches:
- Place chopped produce in a microwave-safe dish.
- Add a tablespoon of water, cover with a lid or microwave-safe wrap.
- Microwave on high in short bursts (2-4 minutes), checking softness.
- Let cool, then blend or mash.
This approach keeps colors bright and taste fresh. Any leftover cooking water can go into the puree to hold onto extra nutrients.
Pureeing, Mashing, and Finger Foods: A Guide to Texture Progression
As babies get older, they’re ready for more than smooth purees. Texture progression is key for oral skills, confidence, and future eating habits.
- First Foods (4-6 months): Silky purees, made from steamed or baked foods. Runny texture helps with safe swallowing.
- Stage 2 (6-8 months): Thicker purees with more lumpiness and even tiny soft chunks. Mix foods together (like peas with potato).
- Stage 3 (8-11 months): Mashed or finely chopped soft foods. At this point, babies can handle thicker mashed textures (think ripe banana, well-cooked carrot, or scrambled egg).
- Finger Foods (8-12 months): Bite-sized pieces of soft foods. Well-cooked veggie sticks, cheese, strips of toast, or soft fruit. Always cut round foods like grapes or cherry tomatoes lengthwise to prevent choking.
It’s okay if your baby isn’t ready to move on as fast as charts suggest—watch for their cues like chewing, picking up food, and swallowing.
 Photo by MART PRODUCTION
Tips for Safe and Fun Progression:
- Squish everything between your fingers—if it mashes easily, it’s safe.
- Avoid hard chunks, nuts, whole grapes, and raw apple pieces.
- Try new textures during calm, happy times to boost confidence.
Incorporating Healthy Fats, Herbs, and Spices
Once your baby’s eating a range of foods, you can boost both flavor and nutrition with a few small changes.
Why Add Healthy Fats?
- Fats like olive oil and coconut oil help with brain growth and let your baby absorb fat-soluble vitamins A, D, E, and K.
- They add smoothness and a subtle flavor, making veggies or grains more appealing.
How to Do It:
- Drizzle a teaspoon of extra-virgin olive oil or melted coconut oil into mashed veggies or grains before serving.
- Try small pats of unsalted butter on whole grains or root veggies once dairy is safe.
Introducing Mild Herbs and Spices:
- Start slow with herbs like basil, dill, parsley, or mild spices like cinnamon on apple or sweet potato.
- Skip the salt and hot spices, but don’t be afraid to experiment with flavor so eating stays interesting.
Flavor and Food Ideas:
- Sprinkle chopped herbs on mashed peas or potatoes.
- Stir cinnamon into baked apple puree.
- Try coconut milk in butternut squash or sweet potato mash for gentle sweetness.
Letting your baby taste new flavors and healthy fats prepares them for a life of adventurous eating. These simple tweaks keep mealtime fun and support healthy growth, one small spoonful at a time.
Storing, Freezing, and Serving Homemade Baby Food Safely
After prepping fresh, tasty baby food at home, handling storage the right way helps keep every bite safe and nutritious. From fridge to freezer, knowing how to cool, portion, label, and serve homemade purees means your baby’s meals always stay fresh and free from bacteria—while making your routine much easier.
Safe Refrigeration and Freezing Practices: Specific Timelines for Fridge vs. Freezer Storage and Using Ice Cube Trays or Portion Containers
 Photo by Hannah Grapp
Homemade baby food is best stored in airtight, food-grade containers—think glass jars, stainless steel options, or BPA-free plastic labeled safe for freezing and microwaving. Here’s how to handle storage to keep food safe and quality high:
- Fridge Storage:
- Use the fridge if you’re serving within 1–2 days. Always chill food quickly in shallow containers and seal tightly.
- Label each container with the date and food type so you don’t lose track.
- Freezer Storage:
- Store purees for up to 3 months in the freezer for the freshest texture and nutrition.
- Scoop purees into ice cube trays or silicone freezer trays. Once frozen, transfer cubes to labeled, airtight freezer bags or containers for easy grab-and-go meals.
- Avoid freezing in regular glass unless it’s designed for the freezer—other types can crack.
Best Practice: Portion foods into 1-ounce cubes using trays. You’ll save time, reduce waste, and only pull out what your baby will eat.
Proper Thawing and Reheating Methods: Discuss Safe Reheating to Prevent Burns, and Proper Temperature Checks Before Serving
How you thaw and reheat baby food matters as much as how you store it. Doing it right keeps bacteria away and meals safe on baby’s spoon:
- Thawing:
- Move frozen cubes from the freezer to the fridge overnight for slow and safe thawing. This preserves nutrients and keeps textures smooth.
- For quicker thawing, place containers or sealed bags in a bowl of cold water, changing the water every 30 minutes.
- When using a microwave, defrost in short bursts on low power, stirring often to spread the heat.
- Reheating:
- Warm up purees on the stove over low heat or in the microwave, stirring regularly so the temperature is even throughout.
- Always test the temperature before serving—stir well and touch-test a spoonful on your wrist. It should feel just warm, not hot (aim for a target temp of 165°F for safety if reheating meat, poultry, or fish).
- Never refreeze thawed baby food, and never keep leftovers that have already been served.
Important: Discard any leftover baby food that’s touched your baby’s mouth, as saliva can introduce bacteria.
Portion Control and Avoiding Waste: Tips on Batch-Cooking, Portioning, and Reducing Food Waste
Home-cooked baby meals are a huge win for families—but only if you keep food fresh and waste to a minimum. Planning ahead with smart portioning makes life easier:
- Batch-Cook Smart:
- Make big batches of single-ingredient purees when ingredients are fresh or on sale.
- Cook extra, but freeze in smaller amounts so none goes to waste.
- Portion Like a Pro:
- Use ice cube trays or silicone containers for 1–2 ounce servings.
- Once frozen solid, store cubes in clearly labeled freezer bags. Each meal, just take out what you’ll really use and reheat.
- Reduce Waste:
- Rotate foods—always use the oldest dated cubes first.
- Combine leftover cubes with other purees to mix up flavors so nothing gets forgotten.
- Watch for any off smells, color, or texture—when in doubt, toss it out.
Getting the hang of cooling, portioning, and storing baby food is the secret to less stress and more happy mealtimes. Small steps help prevent bacteria growth, keep food fresh, and ensure that every bite is safe for your growing baby.
Simple Baby Food Recipes and Mixing Flavors
Homemade baby food is all about simple steps, fresh taste, and plenty of options. With each new stage, you can offer flavors that help your baby enjoy real food from the start. Beginning with single-ingredient purees and moving to mixes and soft finger foods, you’ll keep mealtime exciting and build healthy habits for life. Here’s how to easily advance textures and start mixing flavors that babies actually love.
Stage 1 Purees for Beginners: Recipes Using Single-Ingredient Vegetables, Fruits, or Meats
Stage 1 is all about soft, one-ingredient purees. Pick smooth, mild, easy-to-digest foods and watch for any reaction before moving on to combos.
- Sweet Potato Puree
- Peel and cube a sweet potato. Steam until soft (about 10-12 minutes). Puree with a splash of water or breast milk.
- Apple or Pear Puree
- Peel, core, and slice. Steam until tender (8-10 minutes). Puree until completely smooth.
- Carrot Puree
- Peel and slice carrots. Steam until very soft. Puree, thinning with water as needed.
- Avocado Mash
- Scoop out ripe avocado. Mash with a fork until smooth and creamy. No cooking needed.
- Banana Puree
- Peel and mash with a fork until smooth. Ready in seconds, no cooking needed.
- Chicken or Turkey Puree
- Cook boneless, skinless poultry until fully cooked (no pink). Puree with water or broth for a smooth texture.
Key tips:
- Use just one ingredient for at least three days before trying the next.
- Make small batches and freeze extras in ice cube trays for easy meals later.
Stage 2 Flavor Combinations: Introduce Safe Multi-Ingredient Purees—Examples and Proportions
 Photo by Vanessa Loring
Once single ingredients are tolerated, blend two or three together. Mixing flavors helps your baby discover new tastes and gets in more nutrients.
Easy Combinations to Try:
- Apple + Spinach:
- Steam apple and fresh spinach. Blend smooth. Ratio: 2 parts apple to 1 part spinach for a sweet, mild green mix.
- Pear + Pea:
- Steam pears and frozen peas. Puree together. Try equal amounts for a subtle green twist.
- Butternut Squash + Chicken:
- Roast or steam squash and use cooked, pureed chicken. Mix 2 parts squash to 1 part chicken for a comforting meal.
- Banana + Avocado:
- No cooking. Mash well together, half of each, for a creamy, healthy fat-rich treat.
- Carrot + White Bean:
- Blend steamed carrots with canned white beans (drained, rinsed). Use 2:1 carrots to beans.
Flavor-Boost Ideas:
- Add a pinch of cinnamon to apple-based mixes.
- Mix a dash of dill or parsley to potatoes or peas.
- Swirl plain, whole milk yogurt into fruit purees for extra creaminess and protein (dairy only after first safe intro, usually after 6–7 months).
General guidelines:
- Keep mixes mild and avoid adding salt, sugar, or strong spices.
- Mix and match frozen puree cubes for endless variety—just thaw, blend, and serve.
Transitional and Finger Foods for Older Babies: Recipe Ideas for Chunkier Mixtures and Soft, Bite-Sized Finger Foods
As your baby learns to chew, offer chunkier purees and soft foods that fit tiny hands. Texture helps babies practice biting and self-feeding.
Recipe Ideas:
- Chunky Veggie Mash
- Steam carrots, peas, and potatoes. Mash together with a fork. Leave small chunks for chewing practice.
- Soft Fruit Chunks
- Cut ripe banana, avocado, or pear into pea-sized pieces. Serve plain or rolled in baby cereal for easy gripping.
- Mini Egg Muffins
- Beat 1 egg with a splash of milk and small pieces of cooked spinach or sweet potato. Pour into mini muffin pans; bake at 350°F (175°C) until set (about 12-15 minutes). Cut into cubes for easy snacking.
- Lentil Patties
- Mix cooked lentils, mashed sweet potato, and a sprinkle of mild spice (cumin or cinnamon). Form small patties and pan-cook on low until just firm. Cool and serve broken into pieces.
- Oatmeal Fingers
- Cook oats until thick. Spread onto a baking sheet, cool, then slice into strips for soft, handheld bites.
- Soft-Cooked Veggies and Pasta
- Offer steamed broccoli florets, tiny pieces of well-cooked carrot, or small pasta shapes. Toss with mashed avocado or a drizzle of olive oil for healthy fats.
Finger food tips:
- Stick to foods you can squish between your fingers.
- Avoid choking risks like whole nuts, tough meat, grapes, or raw apple.
- Offer water in a sippy cup to help with the transition.
Texture variety keeps babies excited about eating and helps build real-world eating skills. Changing up shapes, colors, and flavors can make every bite an adventure.
Conclusion
Making your own baby food puts you in control of your child’s nutrition from the very first bite. You know exactly what’s going into each meal—wholesome ingredients, no fillers or hidden extras, and the right textures for every stage. This small daily effort helps shape healthy eating habits that can last a lifetime.
Introducing your child to a variety of simple flavors early on often means fewer struggles with picky eating later. Homemade meals also bring the whole family together. Sharing what you love, letting your baby join in on family meals, and making food memories now can build strong connections for years to come.
Trust your instincts, keep meals simple, and enjoy the process. Every batch you blend or mash is a step toward a healthier, happier childhood—and a foundation for family traditions.
Thanks for reading and taking the time to invest in your child’s well-being. Share your favorite homemade baby food tips or recipes in the comments to help other parents get started on this rewarding path.
Pingback: Best First Foods for Babies in 2025: Safe, Nutritious, and Easy Meals